Node.js is an open-source, cross-platform JavaScript run-time environment that executes JavaScript code outside of a browser. NodeJS is a JavaScript engine that you can install in your own system.
Also, NodeJs makes it possible to use JavaScript in backend development as a backend programming language. (Cool! isn’t it.)
You need to know this.
Node isn’t a program that you simply launch like Word or Photoshop: you won’t find it pinned to the taskbar or in your list of Apps. To use Node you must type command-line instructions, so you need to be comfortable with (or at least know how to start) a command-line tool like the Windows Command Prompt, PowerShell, or the Git shell.
Installation Steps
- Download the Windows installer from the Nodes.js® web site.
- Run the installer (the .msi file you downloaded in the previous step.)
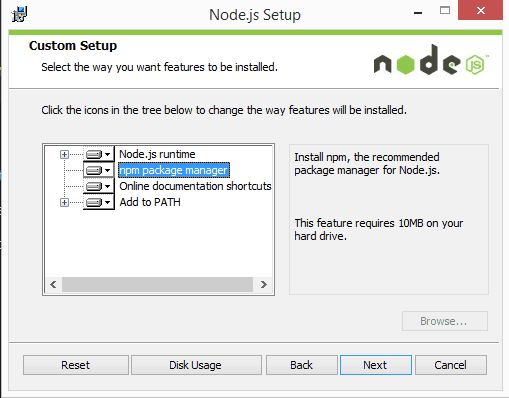
- Follow the prompts in the installer (Accept the license agreement, click the NEXT button a bunch of times and accept the default installation settings).

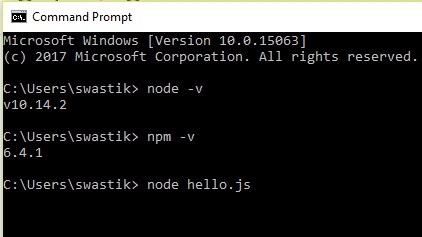
Now to be sure that everything is fine and to confirm node installation, You need to run the following code in your preferred terminal.
- Check node version: node -v
- Check npm version: npm -v
- Confirm installation of node: node hello.js
Microsoft Windows [Version 10.0.15063]
(c) 2017 Microsoft Corporation. All rights reserved.

C:\Users\docs> node -v
v10.14.2

C:\Users\docs> npm -v
6.4.1

C:\Users\docs> node hello.js
Node is installed!
Here is an actual example from my very own system.

If you have any question in your mind, feel free to comment below.
Thank You.
Leave a Reply