Hello Everyone.
This topic is pretty important because if you got this wrong, you won’t be able to show any images on your web page.
After uploading your HTML file & images you have to provide correct path for img src attribute
In the previous article, we saw ‘How to upload files and images to your web hosting.‘ You can think of this article as a continuation to that one.
So, let’s see ‘How to add file path in src attribute inside img tag?’
Src attribute inside image tag:
Login >> my website >> manage website >> file manager >> upload files now.
- Double click on your uploaded HTML file. It will open the code of your HTML file.
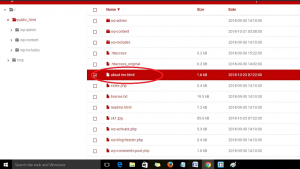
- Now look for all the image tags in your code. (You can find it by “Ctrl + F” keyboard shortcut.)
- Now in the src attribute add/change the image path and save.
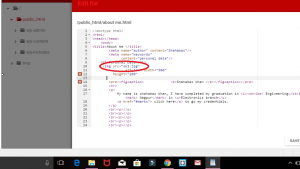
- Correct image path has been added/changed.
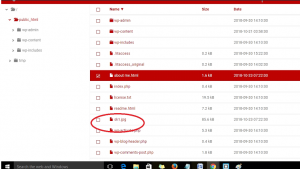
How to locate the correct path of the image?
Go to the uploaded image and click on view. You will be redirected to the URL where that image lies. 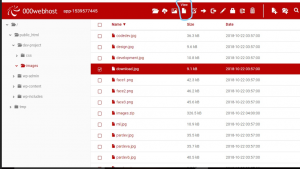
Copy that URL and paste it in the src attribute of your img tag. (step 3 in the previous section.) 
if you have uploaded images directly to Public_html folder then you have to write src attribute as follows: img src=”imagename.jpg”
or if you created a separate folder for images then you have to write src attribute as follows: img src =”foldername/imagename.jpg”
If your image and HTML folder lies in the:
The same folder than src attribute goes this way – “./imagename.jpg”
Another folder than src attribute goes this way – “../foldername/imagename.jpg”
Credit: Shahebaj khan
If anything is missed out, please let us know in the comment below.
Hope that we have been able to provide some value to you.
Thank You.
Leave a Reply